Step-by-Step: Installing a Cold Air Intake for VW
Key Takeaways
- Select the right cold air intake for your specific VW model.
- Gather necessary tools before starting the installation process.
- Follow the step-by-step instructions carefully for a successful installation.
- Enjoy benefits such as increased horsepower and improved engine sound.
- Consult with related resources for additional tips and insights.
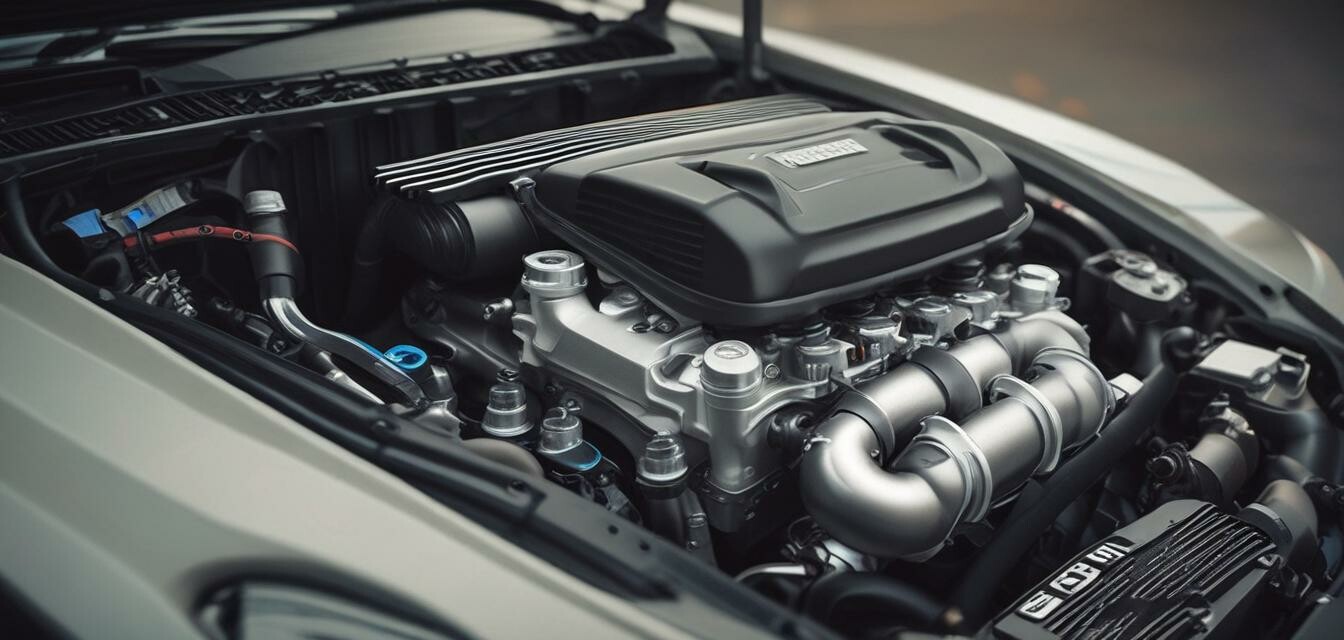
Upgrading your VW with a cold air intake system can significantly boost its performance by improving airflow to the engine. This step-by-step guide will walk you through the process of installing a cold air intake, including the tools you'll need, installation steps, and the many benefits associated with making this upgrade.
Benefits of a Cold Air Intake
Installing a cold air intake has several advantages. Here are some key benefits:
- Increased horsepower and throttle response.
- Improved engine sound, allowing you to hear the performance.
- Better fuel efficiency due to optimized airflow.
- Long-lasting performance with proper filtration to protect the engine.
Tools Needed
Before you begin the installation, make sure you have the following tools:
- Socket wrench set
- Screwdriver set (flathead and Phillips)
- Pliers
- Vacuum cleaner (for cleaning the area)
- Shop towel
- Safety goggles
Choosing the Right Cold Air Intake
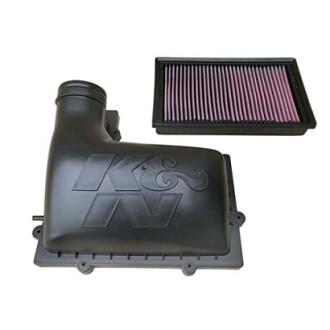
For this guide, we recommend the K&N Cold Air Intake Kit. Here’s why:
K&N Cold Air Intake Kit
Experience increased horsepower with the K&N Cold Air Intake Kit, designed for various VW models. It offers superior filtration and airflow improvement.
Learn MoreStep-by-Step Installation Guide
Step 1: Prepare Your Vehicle
Ensure your vehicle is parked on a flat surface and the engine is cool. Disconnect the battery to avoid any electrical issues during installation.
Step 2: Remove the Factory Air Intake
- Use the socket wrench to remove the screws securing the factory air intake assembly.
- Carefully disconnect any sensors or hoses attached to it.
- Lift the factory intake off the engine and set it aside.
Step 3: Clean the Installation Area
Use a vacuum cleaner to clean any debris or dirt from where the old air intake was mounted. This ensures a clean installation for the new system.
Step 4: Install the K&N Cold Air Intake
- Position the K&N intake where the factory intake was previously located.
- Secure it in place with the screws you removed earlier.
- Reconnect any sensors and hoses that were detached.
Step 5: Reconnect the Battery
Once everything is secured, reconnect the battery. Start the vehicle to ensure the new cold air intake is functioning correctly and to enjoy the new engine sound!
Common Pitfalls to Avoid
Here are some pitfalls to watch out for during your installation:
- Ensure all screws and connections are tightly secured to avoid air leaks.
- Double-check that all sensors and hoses are reconnected properly.
- Do not over-tighten screws, as this can damage the intake components.
Maintenance Tips
Proper maintenance of your cold air intake ensures its longevity:
- Regularly inspect and clean the filter per the manufacturer's instructions.
- Check for any signs of wear or damage on the intake components.
- Replace the intake system if any serious issues arise.
Conclusion
Installing a cold air intake on your VW can significantly enhance performance and efficiency. By following this guide, you will not only understand how to properly install your new intake but also experience the benefits that come with it. For further reading, check out our resources on VW Engine Tuning, VW Exhaust Systems, and VW Performance Software.
Tips for Beginners
- Take your time during the installation process.
- Refer to the instruction manual that comes with your intake kit.
- Watch video tutorials for visual guidance, if available.

