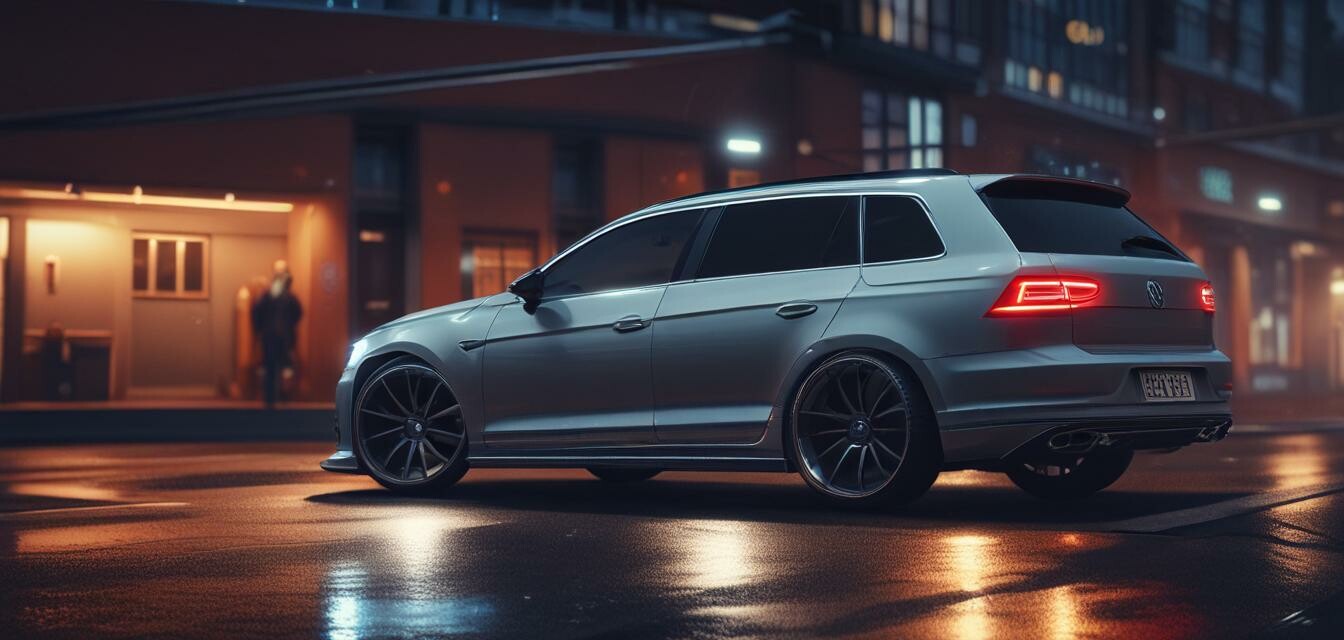
How to Install LED Light Bars on Your VW
Key Takeaways
- Follow safety precautions when working with electrical systems.
- Ensure proper tools are ready before starting the installation.
- Choose the right light bar for your VW model and personal preferences.
- Mount the light bar securely to prevent any damage during use.
Adding LED light bars to your Volkswagen can significantly improve visibility while driving at night or during adverse weather conditions. In addition to enhancing safety, LED light bars also add a stylish touch to your vehicle. In this guide, we will provide step-by-step instructions for installing LED light bars on your VW, complete with wiring and mounting tips.
Tools You'll Need
- Drill with bits
- Socket set and wrenches
- Wire strippers and connectors
- Electrical tape
- Mounting brackets (if not included with light bar)
- Fuse holder and fuse for safety
- Screwdriver
- Multimeter
Choosing the Right LED Light Bar
When selecting an LED light bar for your VW, consider the following factors:
- Length: Light bars come in various lengths. Choose one that fits your vehicle's front without obstructing airflow or visibility.
- Light output: Look at lumens rating; higher lumens means brighter lights.
- Beam pattern: Flood, spot, or combo beams are used depending on where and how you drive.
Installation Steps
Step 1: Preparing Your VW
Before you begin installation, make sure the vehicle is parked on a level surface, and the battery is disconnected to prevent electrical mishaps.
Step 2: Mounting the Light Bar
Follow these steps for mounting the light bar securely:
- Identify the desired mounting location on your VW (usually the front bumper or roof).
- Use mounting brackets to secure the light bar in place; drill holes if necessary.
- Tighten all screws and bolts to ensure the light bar is secure.
Step 3: Wiring the Light Bar
Proper wiring is crucial for the function of your LED light bar. Follow these steps:
- Run the wires from the light bar to the battery or a power source.
- Connect the positive wire to the battery, ensuring it has a fuse holder and appropriate fuse.
- Connect the negative wire to a ground point on the vehicle.
- Use wire connectors and electrical tape for a secure connection.
Step 4: Testing the Installation
After completing the wiring, double-check all connections. Reconnect the battery and test the light bar by turning it on. Ensure that it operates correctly and does not cause any fuse issues.
Tips for Successful Installation
Installation Tips
- Consult your vehicle's manual for specifics on wiring and fuse placement.
- Utilize a multimeter to check voltage levels for proper connection.
- Consider using a relay switch for heavy-duty lights to prevent drawing too much power from the battery.
- If you encounter resistance, take time to troubleshoot before proceeding.
Product Recommendations
When it comes to choosing the best LED light bars for your VW, consider the following products:
 High Visibility Option
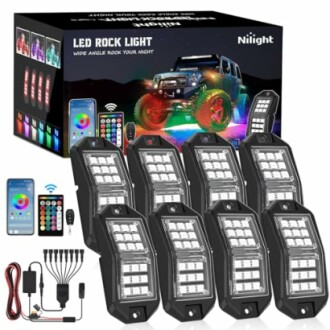
Nilight RGB LED Rock Lights Kit
This kit includes 8 LED rock lights for maximum brightness and flexibility, perfect for your off-road adventures.
See Product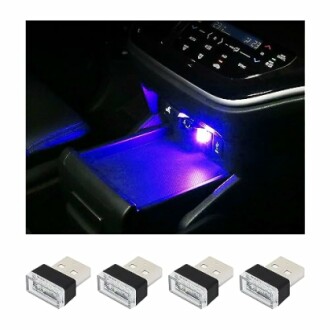 Great for Interiors
Augeny 4 PCS USB LED Car Interior Atmosphere Lamp
Enhance your car's interior with this versatile ambient lighting kit that is easy to install.
Explore NowConclusion
Installing LED light bars on your VW can enhance both its functionality and aesthetic appeal. Follow the steps outlined in this guide and you’ll have your light bars up and shining in no time. For more detailed guides on enhancing your VW, check out our resources on VW Lighting Upgrades or VW Exterior Styling.
"Investing in quality light bars not only improves your night visibility but also enhances the overall look of your VW."
Pros
- Improves visibility while driving at night.
- Adds stylish touches to your vehicle.
- Easy to install with basic tools.
Cons
- May require additional wiring knowledge.
- Installation may void certain vehicle warranties.